In this article, I’ll explain how Okta’s Workforce Identity Cloud integrates with Microsoft’s Power Platform.
What is Microsoft’s Power Platform?
According to Wikipedia, Microsoft Power Platform is a line of business intelligence, app development, and app connectivity software applications.[1][2] Microsoft developed the Power Fx low-code programming language for expressing logic across the Power Platform.[3][4] It also provides integrations with GitHub and Teams.[5] – https://en.wikipedia.org/wiki/Microsoft_Power_Platform

Okta’s role with Microsoft’s Power Platform + Azure
Okta is the leading on-demand identity and access management service. Many of Okta’s customers leverage Microsoft Office 365 as part of their technology or productivity stack. Okta’s role for any Microsoft Office 365 customer is to act as the sole and central identity provider for their workforce and extended workforce identities.

As the sole and central identity provider, Okta’s primary function is providing authentication, authorisation, Multi-factor authentication and identity lifecycle management capabilities towards Microsoft Office 365 and Azure.
To understand the benefits of why you should be considering Okta as the Identity standard for your Microsoft deployment, feel free to read this article.
How to Integrate Microsoft Office 365 + Power Apps + Azure with Okta
Suppose you already have an existing Okta instance/service. In that case, you must log in to your Okta Administrator Management console as a Super or Application Administrator to start the below process.
If you haven’t got an Okta instance/service yet, sign up for a free trial through this link.
The detailed documentation discussing how Microsoft Office 365/Microsoft Azure can be integrated with Okta can be found here.
Step 1: Log in to your Okta Administrator console

Step 2: Navigate to Applications->Applications

Step 3: Click Browse App Catalog and search for Microsoft Office 365

Step 4: Click Office 365 and click +Add Integration

Step 5: Federate Microsoft Office 365 to Okta
What’s important here to configure is the Microsoft Tenant Name.

You would also need to select WS-Federation within the Sign On tab. Select automatic if you want Okta to automatically federate your chosen domain. You will also need to provide a service account with global administrator rights as part of the configuration if you decide to use Automatic. If you decide to use Manual, you don’t need to provide a global administrator account as part of the configuration process. Okta will automatically generate a PowerShell script that you can run manually. In this article, I’ll use automatic.

Click Save.
Step 6: Integrate Okta with Microsoft Office 365 to do Identity Management, aka “Provisioning” capabilities
Navigate to Provisioning Tab and tick the integration. The page will be refreshed, and you can provide API credentials within Okta to use for Provisioning capabilities.
Provide your service account username and password. The service account will require global administrator rights within Microsoft Office 365. Click Test API credentials and then click Re-authenticate with Microsoft Office 365. This will open a new window requiring you to accept the OAuth 2.0 Consent prompted by Microsoft. Click Allow/Accept

Once the integration has been configured successfully, click the Provisioning tab again. By default, the Okta->Office 365 will be the screen you’ll land by default. For this example, we’ll just use Profile Sync as the Provisioning Type

Make sure you tick and enable the necessary provisioning functionalities like Create users, Update users and Deactivate users. Click save.

Step 7: Assign a user to Microsoft Office 365 that we will use for testing
Click the Assignments tab, Click Assign

Assign a user within Okta.

During the assignment process of your test user with Microsoft Office 365, you’ll be prompted to set Microsoft licenses for the user. Assign the Power Apps license, Power BI license and also assign a read-only role.

Power Apps License:

Power BI License:

Roles:

Global Reader Role

Click Save. You should see the new user be assigned to the application successfully.
Testing it all out
Navigate to your Power Apps Platform Administrator Page

Select the Power App, and click Share. In this example, I’ve already created a group within Okta called Power App Users, any user within Okta assigned to the PowerApp User Okta group will automatically be synced into Microsoft Azure AD PowerApp Users security group.


Select the Power App you want to use, click Detail

Take note of the web link. For my example, it would be: https://apps.powerapps.com/play/e/default-982de6c8-6573-4705-8acc-7e4615ae48ee/a/84a43b78-bc48-41e7-9827-04467d61ed42?tenantId=982de6c8-6573-4705-8acc-7e4615ae48ee
Open an incognito browser and navigate to the page using the link above.
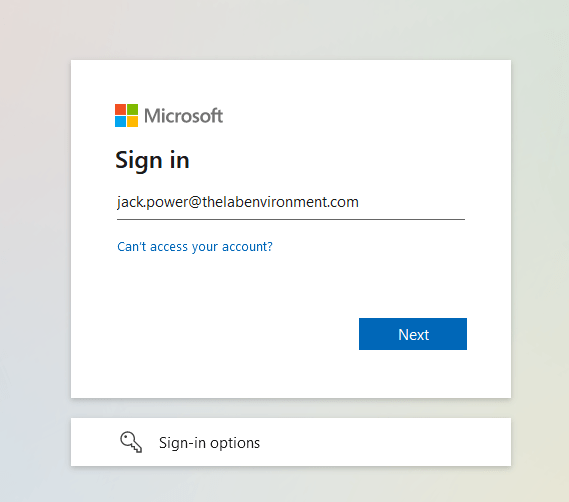
You’ll be redirected to Microsoft’s IDP discovery page. Enter our test user’s email. Click Next.
You should be redirected to Okta. Enter your credentials. Once authentication is successful, you’ll be redirected back to Microsoft.


You should now be able to access the shared application within Power Apps Platform.

You should also be able to access Power BI platform or Microsoft Azure.


Azure:

 IAMSE
IAMSE